Human Resources > Workforce Administration > Search/Create Employee
As the foundation of the Human Resources application, the Workforce Administration page contains comprehensive data on all employees of an organization. Use this page to record, maintain and track employee data from hire date through employment and post-employment.
The data on this page is separated into four tabbed categories: Personal, Employment, Jobs, Payroll Data and Contracts. To view or work in a category, click the corresponding tab to bring it forward.
A link to each section is provided in the Quick Links panel located on the left side of the page. You may click a link to navigate to a particular section or use the scroll bar located on the right side of the page.
Note: The first time you open the Workforce Administration page, you see only the grids containing the summarized data for each section in a category, and all data is display only. When you click the appropriate button or icon to add or edit data for a section, a detailed section of fields opens below the grid, and the appropriate fields are enabled for entry.
To get the help you want, click the appropriate topic below:

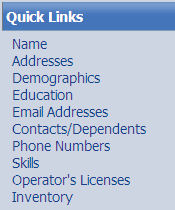
To get help for a section on the Personal tab, click the name of the section below:
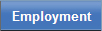
To get help for a section on the Employment tab, click the name of the section below:

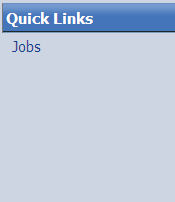
To get help for a section on the Jobs tab, click the name of the section below:
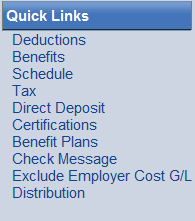
To get help for a section on the Payroll Data tab, click the name of the section below:

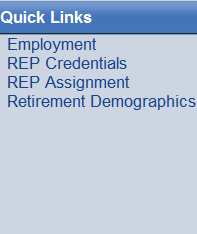
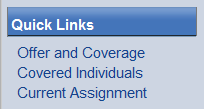
To get help for a section on the Employer Reporting tab, click the name of the section below:

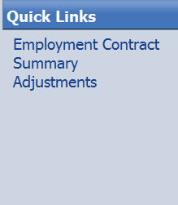
To get help for a section on the Contracts tab, click the name of the section below:
A photo of each employee appears in the top-left corner of his or her Workforce Administration page.
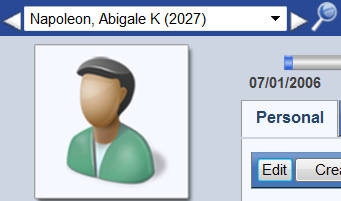
Above the employee's photo is a field containing the employee's name.
To reload the Workforce Administration page with data for another employee, you have the following options:
- Click the drop-down prompt
 to select from an alphabetized list of all employees.
 - Click the right-arrow button
 to select the next employee or the left-arrow button
  to select the previous employee.
 - Click the Quick Search icon
 to clear the field and type the name of the employee you want.
Once you have made your selection, the page loads the newly selected employee's photo and data.
- Click once on the photo. An Edit Photo pop-up opens.
 Show me.
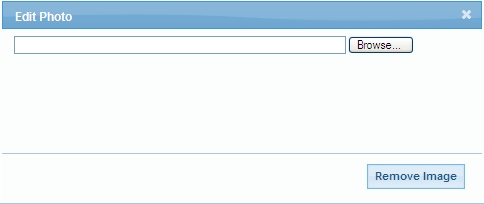
- Click the Browse button to search for the image file you want.
- Select the image file. The pop-up closes, and the photo updates.
If you want to remove the photo from the page, leaving a generic image in the frame, click the Remove Image button on the Edit Popup.

Running across the top of the Workforce Administration page is a timeline containing markers to indicate changes in a particular category of an employee's data over time.

| Workforce Administration Sections | ||||||||||
|---|---|---|---|---|---|---|---|---|---|---|
| Personal: | Name | Addresses | Demographics | Education | E-mail Addresses | Contacts/Dependents | Phone Numbers | Skills | Operator's Licenses | Inventory |
| Employment: | Employment | |||||||||
| Jobs: | Job | |||||||||
| Payroll Data: | Deductions | Benefits | Schedules | Taxes | Direct Deposits | Certifications | Benefit Plans | |||
| Employer Reporting | Offer and Coverage | Covered Individuals | ||||||||
| Contracts: | Employment Contracts | Summary | Adjustments | |||||||

To select the category of data for the timeline to represent, use the Timeline Filter field, located on the top-right side of the Workforce Administration page.

 to select from a
If a document or note is attached to the employee record, the background of the corresponding icon displays in color.
These features also let you send notifications to other people or departments when particular documents or notes are available or need attention.
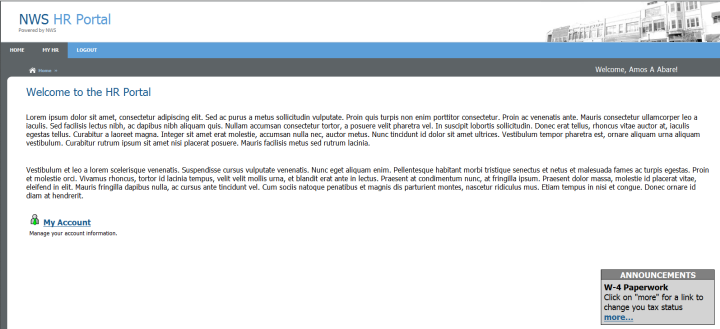
Clicking this link takes an employee to the ![]() Welcome page of the HR portal and provides access to My HR with view and print rights for the following: accruals, benefits, deductions, contacts and dependents, direct deposits, paychecks, pay rates, personal information, positions and W-2 forms.
Welcome page of the HR portal and provides access to My HR with view and print rights for the following: accruals, benefits, deductions, contacts and dependents, direct deposits, paychecks, pay rates, personal information, positions and W-2 forms.
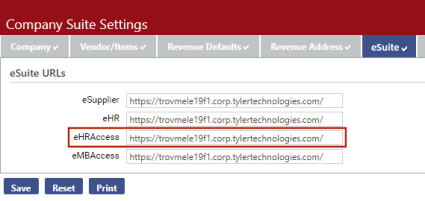
- Navigate to Maintenance > new world ERP Suite > System > Company Suite Settings.
- Click the eSuite tab.
-
Type the following path in the
eHRAccess field: https://logosintesuite/ - Click Save.
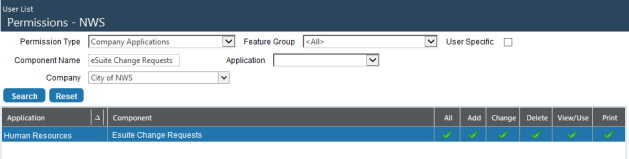
To make the eSuite Access link visible, give employees a minimum of View/Use permission to the eSuite Change Requests security component:
- Navigate to Maintenance > new world ERP Suite > Security > Users.
- Select a user.
- Click Permissions.
- Click the Show Search link.
- In the Component Name field, type eSuite Change Requests.
- Click Search.
-
The grid refreshes to show the
eSuite Change Requests component only. - Select the appropriate permissions. View/Use and Print are required.
- Click Save.
- For the permissions to take effect, the user must log off and log back on.
Clicking this link takes you to the ![]() Employee Service page , with the Workforce employee's folder available in the search results pane.
Employee Service page , with the Workforce employee's folder available in the search results pane.
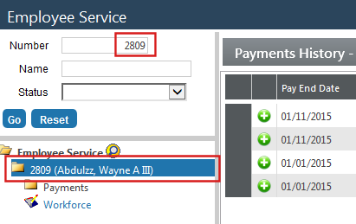
To navigate back to the employee's Workforce page, click the ![]() Workforce link at the bottom of the employee's folder tree.
Workforce link at the bottom of the employee's folder tree.
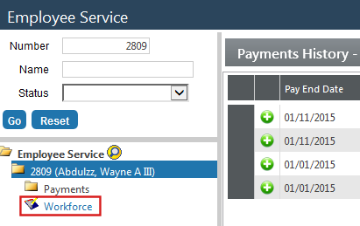
Note: Workforce security rights also apply to Employee Service.
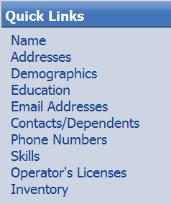
To navigate to a particular section, click the corresponding link. You also may use the scroll bar, located on the right side of the page, to navigate to a section.
You also have the ability to rearrange the order of the sections. To move a section, left-click the corresponding link and, holding down the mouse button, drag it to the appropriate place in the list.